Mync | Manual
Importing from Devices
You can import sources from a device such as USB memory or camera connected to PC and register them to [Library].
You can also perform batch import of sources, or just register them to [Library] without importing.
1) Connect a device to your PC.
-
The connected device is displayed in [Removable Device] on the sidebar.
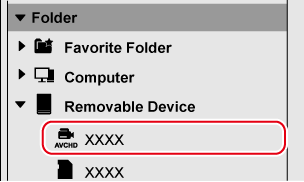
2) Click the device name on the sidebar.
-
The sources stored in the connected device are displayed in the thumbnail pane.
-
Sources that are not registered to [Library] are displayed with check marks on the upper left of their thumbnails.
|
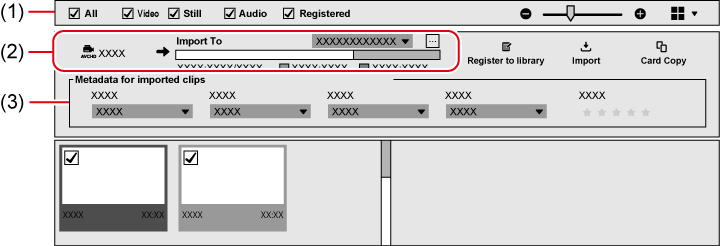
(1) |
Make selections for the source files to be displayed in the thumbnail pane. Check [Registered] to display sources that are registered to [Library], as well as those not registered to [Library]. |
|
|
(2) |
The location of the import destination folder and its free space are displayed. |
|
|
(3) |
Configure the settings for metadata to be added to the imported sources. |
|
3) Check the sources you want to import.

-
This step is not necessary when you perform [Card Copy] for batch import of sources, as all source files in the device are targeted.
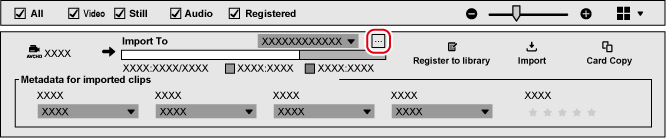
4) Click [...] of [Import To] to specify the copy destination of source files.
-
Alternatively, you can click the list button on the right of [Import To] and select a copy destination from the list of recent histories.
-
The operation of step 4) is not necessary if you just register source files to [Library] without importing them.
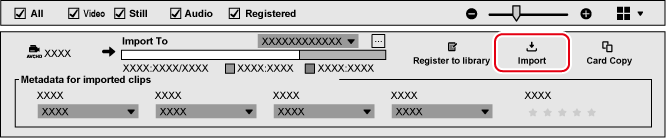
5) Click [Import].
-
Import of the sources is started.
Source files are copied to the folder of the date within the folder specified for [Import To], and registered as clips in [Library].
-
The clips that have been registered to [Library] are displayed with red square marks at the lower right of the thumbnails. (For [Thumbnail] view or [Timeline] view only)
-
If you click [Register to library] or [Card Copy], the actions performed are as follows.
[Register to library]
Source files with their check boxes selected are registered to [Library] as clips. The source files will not be copied.
[Card Copy]
Regardless of selection of check boxes, all source files in the device are copied and registered to [Library] as clips.
-
You can use this option to import data with specific folder structures such as those in an SD memory card used for a digital camera.
-
Source files are copied to the “Cards” folder within the folder specified for [Import To].
-
This option cannot be used when the disk capacity of the import destination is insufficient.
-

-
Mync can be started also from the auto play dialog box displayed when a USB device is connected.
-
AVCHD sources that consist of multiple separate files are registered as single clips.
-
Right-click on the device name on the sidebar, and then click [Eject] to remove the device.
-
The data on which [Card Copy] has been performed can be verified if they have added/deleted contents since the last import. Click
 on the right of the imported history to verify, and then click [Verify the content of this Card Copy].
Basic and Standard versions available Download the Basic version free for a limited time!
We have prepared two versions of Mync. The Basic version can be used by a wide range of individual users and the Standard version has advanced functions that enable use even in professional production environments. Right now, the Basic version can be downloaded for free. Please experience the ease-of-use provided by Mync before this offer ends in 06 2017.
- Basic
- Standard
 Basic
Basic Standard